Monday, May 13, 2013

House Tour: Baby Benji's Nursery (part 1)

Benjamin's room is my favorite room in the house. It was a labor of love, but it was worth every minute of time it took.

I knew before I was even pregnant that if we had a boy I wanted to do a wood accent wall and a woodland animals theme. So, when we found out we were going to be welcoming another boy, I got to work determining how we would create our wood wall.

We mostly did the same thing as seen here (except our plywood was 1/4" thick because Lowe's pulled the wrong boards). There are many ways to do a wood wall, but we picked this way because it was about the cheapest option. The only cheaper option was using pallets which I could get for free, but it was a lot of work. Being pretty pregnant when we started, I didn't want to deal with the pallets.

So we bought plywood from Lowe's and had them cut it into 4 inch strips for us. Then, when we got them home, I did some calculating. To avoid having to run out to the garage to make cuts at the end of every row, I planned all the rows ahead of time and the lengths of boards we would need. Then, as hubby cut them, I would mark the length on the side I didn't want to be facing out. We cut the boards at all different lengths so the seams would be staggered. Then, we moved all the boards inside and let them sit for a few days.

We borrowed my dad's air compressor and used a staple gun to attach the boards. For the most part the boards were pretty smooth, but I sanded boards as needed. I used the side that had the best grain or knots because I was going for a rustic look. I would hand hubby the right length of board and he would attach them. We opted not to use glue because we didn't want to totally ruin the drywall. So far, only 1 board has come loose a little. After several nights of work, we had this:


We decided to do the accent wall on the wall with the window. Not only because it's the first wall you see from the door, but the room was already painted gray and it didn't want it to get too dark.


Then, it was my turn to do most the work: staining. I had only ever stained one item and I had used a stain that you don't wipe off. After reading a lot about different staining options and a failed Pintrest attempt at making my own, I decided to go with Minwax Woodsheen in Plantation Walnut.


There were several reasons I chose it.
 
1. It is water based. Since I was having to stain inside I really wanted to have as few fumes as possible. Not only because I was pregnant at the time but just because we all (especially our 4 year old) didn't need to be breathing that in. Stain fumes stick around forever!
 
2. It is stain and finish in one! And it is fast drying- I let it sit 3 minutes before wiping it off.  I like anything that is fast!
 
3. Easy clean up - soap and water. I still wore gloves during application though.
 
I would highly recommend this product! It was so easy to use and the results were beautiful. I worked over 3 nights and then had this:


Hubby and I were very happy with the results! Part 2 of Benji's nursery to come and you'll get a full view of the wall.

Friday, May 10, 2013

Inspiration Fridays: Bedroom remix


I came across this picture on Pintrest (from here) and fell in love. Our bedroom walls are already that color and I love them. But, the pops of coral make it even better! Since I found the picture I've had my eye out for coral sheets, but no luck yet.

I will definitly keep looking and will be adding some coral to our bedroom!

Wednesday, May 8, 2013

Mission Organization: Harrison's Closet


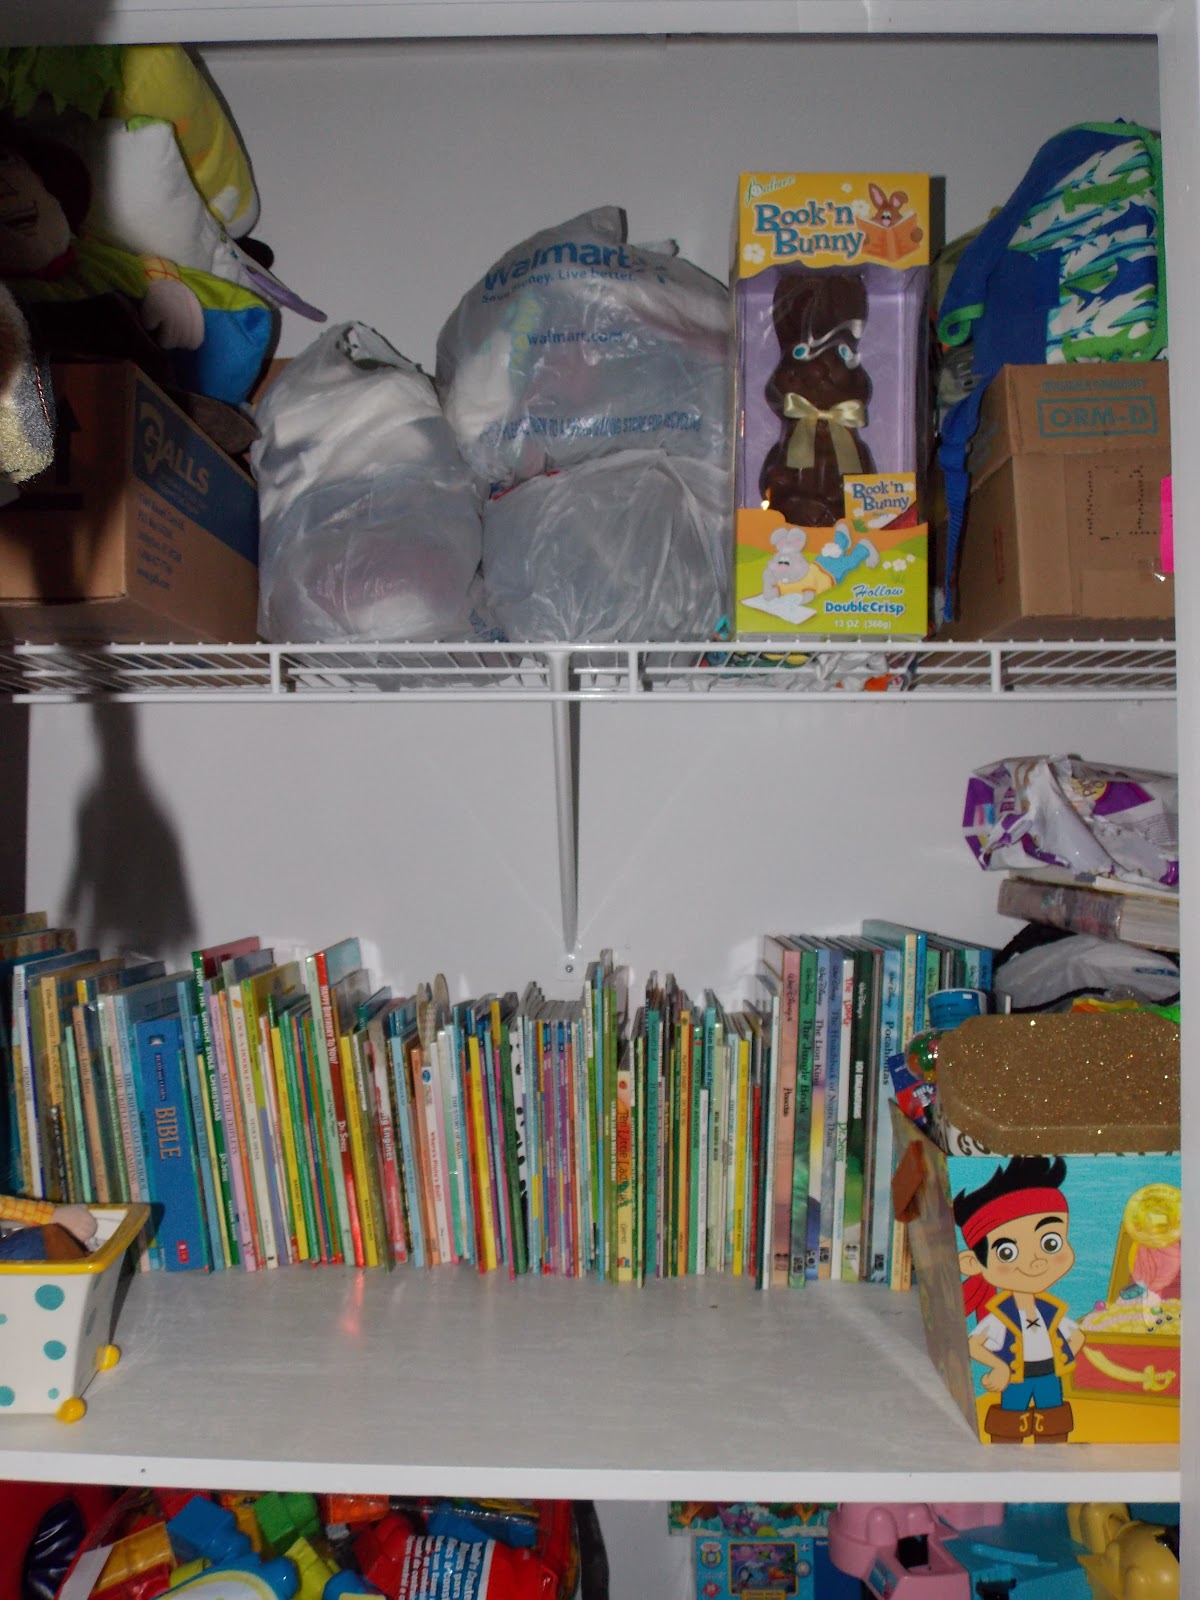
 When I started organizing the linen closet last week I ended up working on Harrison's closet too. I had worked on it not long ago, but it gets messy so easily! It wasn't as much of an undertaking though. I didn't take everything out. I just rearranged a little to make it look nicer and make it easier for Harrison to get to his toys and for us to get to his books.

Before:
 
Top shelf was too-big clothes, jackets, box of coloring books.

Next shelf: box full of candy that I have no idea what to do with, books, diapers (for nighttime), Awana's bag.

Third shelf: games.

Fourth shelf: large toys and a box of outgrown clothes (I toss stuff in there as I come across it in his drawer. Once it's full I fill a large tubberware container to store for future use.


Afters:

Top shelf: Too big clothes

Next shelf: Books and that stinkin box of candy. What do you do with candy that everyone buys for your kid? Harrison gets tons and tons of candy and he never eats it!

Third shelf: blocks, puzzles, Alphie, and coloring books

Bottom shelf: bigger toys and the box of outgrown clothes


And now just because I enjoy it - side by sides:


It makes me so happy to have a freshly organized space!

Monday, May 6, 2013

Promised Pictures of the Garage

I'm warning you...It's bad. You can turn back now.


Are you sure?


From the driveway:
 
Left side:

 
Right Side:


Back wall:
 
 
Entry to the house and my little cutie pie:


Boy, do we have our work cut out for us. It wasn't this bad not that long ago, but we started dumping stuff out there instead of bringing it in. And then puppy dragged stuff out everywhere. I'm very excited to get started! See the toolbox in the picture above? That wall is going to become a "mud" area. I can't tell you how excited I am for that!

Friday, May 3, 2013

Inspiration Fridays

I have some very OCD tendencies, so I'm really having to fight my inner self and not have a specific posting schedule. I don't want to box myself in. I want to be able to blog about whatever is going on. But, I would like to start a weekly post for Fridays. Just a short and sweet post - one picture that has inspired me during the week and a short explanation.


I love every single thing about this. It makes me smile! I want our kitchen to have a farmhouse feel and this picture is just perfection. I even have a wall about this size that I'm not sure what to do with. I don't want to copy this completely, but I'm getting some ideas.

I love the color - the green with pops of yellow and orange. I love the wire baskets and the wood crate. I love the functionality of all the food storage, but that it fits in and looks good too.


Have a great weekend!

Wednesday, May 1, 2013

Mission Organization: Linen Closet

 It was raining this weekend, so we didn't get to work on the garage. But, I still tackled some organization projects. I've learned that whenever I get an itch to do a project I better do it because the motivation doesn't usually last long.
 
I took on the linen closet first because it has been bothering me for a while. Since our house is so small we have to make every nook and cranny work well for us. The linen closet has a ton of jobs. It holds games, towels, craft items, pictures, a box of cables, and hubby's shoes.
 
Here are the top 2 shelves before:
 
 
 And the bottom 2 shelves before:


The first thing I did was take everything out. I weeded out trash and items that could be donated. We had a ton of gift bags, so I kept some and passed the rest to my mom. Then, some items got moved to other locations. It's funny how one organization project usually turns into several. Like wanting to move the printer paper into the desk brought on organizing the desk drawer. 
 
Then, I took a look at everything left and worked out how it would work for us best. I worked on Harrison's closet at the same time (post to come next week) so that I could keep like items together. Before the adult games were in this closet and his games were in his closet. I decided to keep them all in this closet and I moved coloring books to Harrison's closet.
 
Now the afters! Top 2 shelves:
 
 
To the left are all the boxed adult games and to the far right are all of the boxed kid games. The middle basket is full of smaller (cards) or odd shaped (bop it) games and play doh.
 
The next shelf is for towels. The left is supposed to be where the regular towels go, but we are out. Oops! The middle is hand towels in the back and wash clothes in the front. The white container is baby wash clothes and beside it are hooded towels. In the back are beach towels.
 
The bottom 2 shelves after:
 
 
Starting on the left side: The monkey bag is full of gift bags and tissue paper. The wicker box is full of cards. Then there is a poker set that wouldn't fit up top and a ton of candles behind that. The far right is a box full of cables, a box of larger photos, and some batting.
 
Then there are Hubby's shoes and our step stool.
 
Now for side by side comparisons for fun!


Ahhh, so much better! I am much happier!

Friday, April 26, 2013

Game plan: Tackling the garage

So life has been a little crazy - we have a new baby! Benjamin was born February 7th and we couldn't be happier. He is the perfect additon to our family! We also have a new puppy. Yes, we are totally crazy! LOL

Now that we've been a family of 4 for a few months, things are starting to get a little easier. Things are still crazy busy and we are tired most of the time (Benji still eats every 3 hours most nights), but it's settled some. And I've been itching to start some house projects. Like I said in my home goals post, we want to get some stuff done this year, but we are being realistic about it. Not only do we not have a lot of time, but money is also a little tight this year with hospital bills rolling in. So, I'm just going to concentrate on one room/area at a time and do what I can to make it work for us using free or low cost items. Our house is decorated for the most part, and I keep it tidy, but what it isn't is organized. And, you can organize on a budget. So that's my goal: total home organization.

Right now, the area that is bothering me the most is the garage. It has always been a dumping ground and right now it's a diaster area. But, I have a list of ideas that we can incooperate to get it manageable. A long term goal is to get a storage building for our lawn care items and outdoor toys- maybe later in the year. But for now I know we can get it looking and working better. Here's my to-do list:

1.      Move storage items to papaw and mamaw’s attic (We are very thankful to have a huge area to store items for free at my grandparent's house)
2.      Clean out garage- tossing trash and bringing house items in
3.      Transfer leftover paint to smaller containers
4.      Install hooks to store items on the wall: power tools, bike, weed eater, etc.
5.      Paint the door and add vinyl saying
6.      Clean the floor really well
7.      Create “mudroom” area
a.      Paint strips on the wall to match door
b.      Mirror
c.       Shelf for keys, wallet, piggy bank, etc.
d.      Hooks for jackets, backpack, diaper bag, etc.
e.       Shoe storage
8.      Cover/paint steps
9.      Welcome mat at steps
10.  Install cat door and create pet area
a.      Storage containers for both foods and litter
b.      Move litter box and food bowls out
c.       Crate
I'm hoping to get a little start this weekend! Before pictures to come, but I'm warning you - it's bad!