I knew before I was even pregnant that if we had a boy I wanted to do a wood accent wall and a woodland animals theme. So, when we found out we were going to be welcoming another boy, I got to work determining how we would create our wood wall.
We mostly did the same thing as seen here (except our plywood was 1/4" thick because Lowe's pulled the wrong boards). There are many ways to do a wood wall, but we picked this way because it was about the cheapest option. The only cheaper option was using pallets which I could get for free, but it was a lot of work. Being pretty pregnant when we started, I didn't want to deal with the pallets.
So we bought plywood from Lowe's and had them cut it into 4 inch strips for us. Then, when we got them home, I did some calculating. To avoid having to run out to the garage to make cuts at the end of every row, I planned all the rows ahead of time and the lengths of boards we would need. Then, as hubby cut them, I would mark the length on the side I didn't want to be facing out. We cut the boards at all different lengths so the seams would be staggered. Then, we moved all the boards inside and let them sit for a few days.
We borrowed my dad's air compressor and used a staple gun to attach the boards. For the most part the boards were pretty smooth, but I sanded boards as needed. I used the side that had the best grain or knots because I was going for a rustic look. I would hand hubby the right length of board and he would attach them. We opted not to use glue because we didn't want to totally ruin the drywall. So far, only 1 board has come loose a little. After several nights of work, we had this:
We decided to do the accent wall on the wall with the window. Not only because it's the first wall you see from the door, but the room was already painted gray and it didn't want it to get too dark.
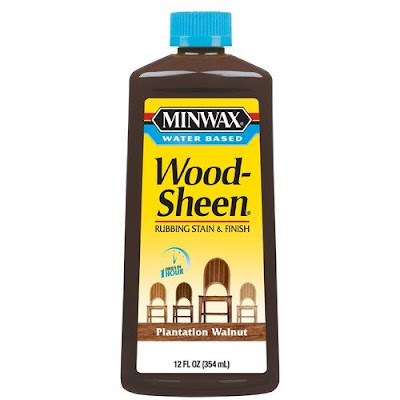
Then, it was my turn to do most the work: staining. I had only ever stained one item and I had used a stain that you don't wipe off. After reading a lot about different staining options and a failed Pintrest attempt at making my own, I decided to go with Minwax Woodsheen in Plantation Walnut.
There were several reasons I chose it.
1. It is water based. Since I was having to stain inside I really wanted to have as few fumes as possible. Not only because I was pregnant at the time but just because we all (especially our 4 year old) didn't need to be breathing that in. Stain fumes stick around forever!
2. It is stain and finish in one! And it is fast drying- I let it sit 3 minutes before wiping it off. I like anything that is fast!
3. Easy clean up - soap and water. I still wore gloves during application though.
I would highly recommend this product! It was so easy to use and the results were beautiful. I worked over 3 nights and then had this:
Hubby and I were very happy with the results! Part 2 of Benji's nursery to come and you'll get a full view of the wall.


No comments:
Post a Comment